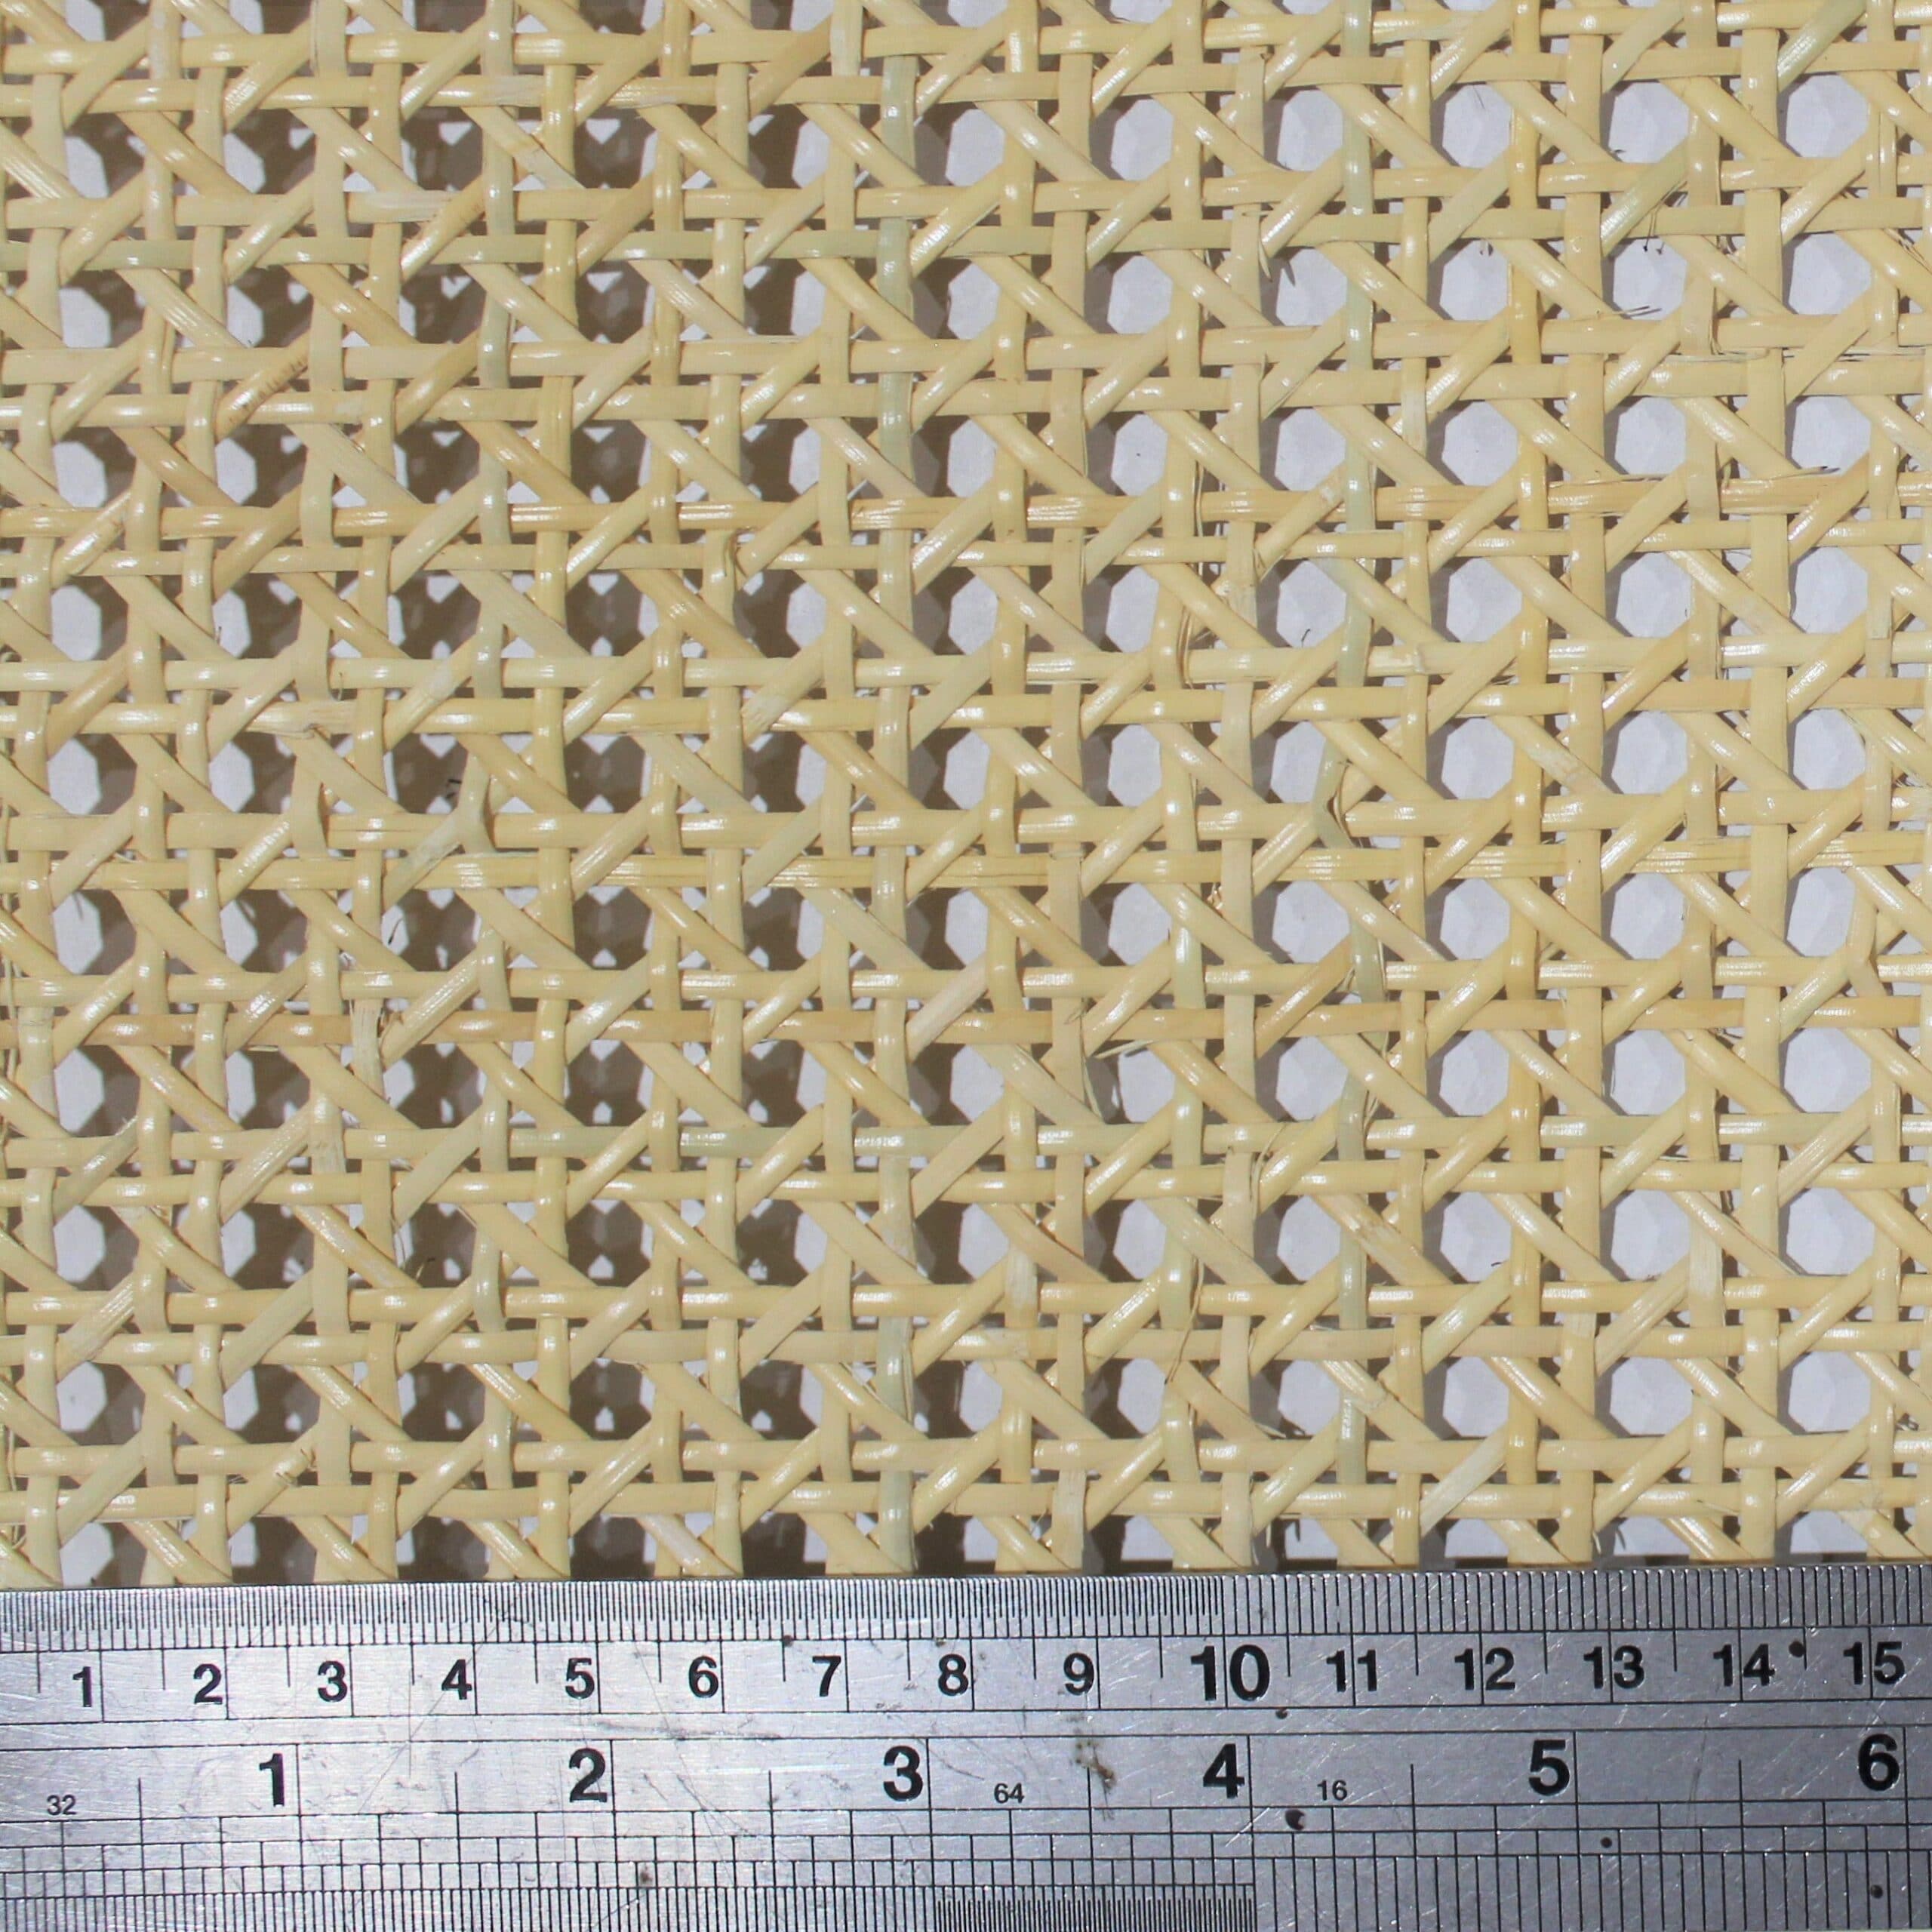
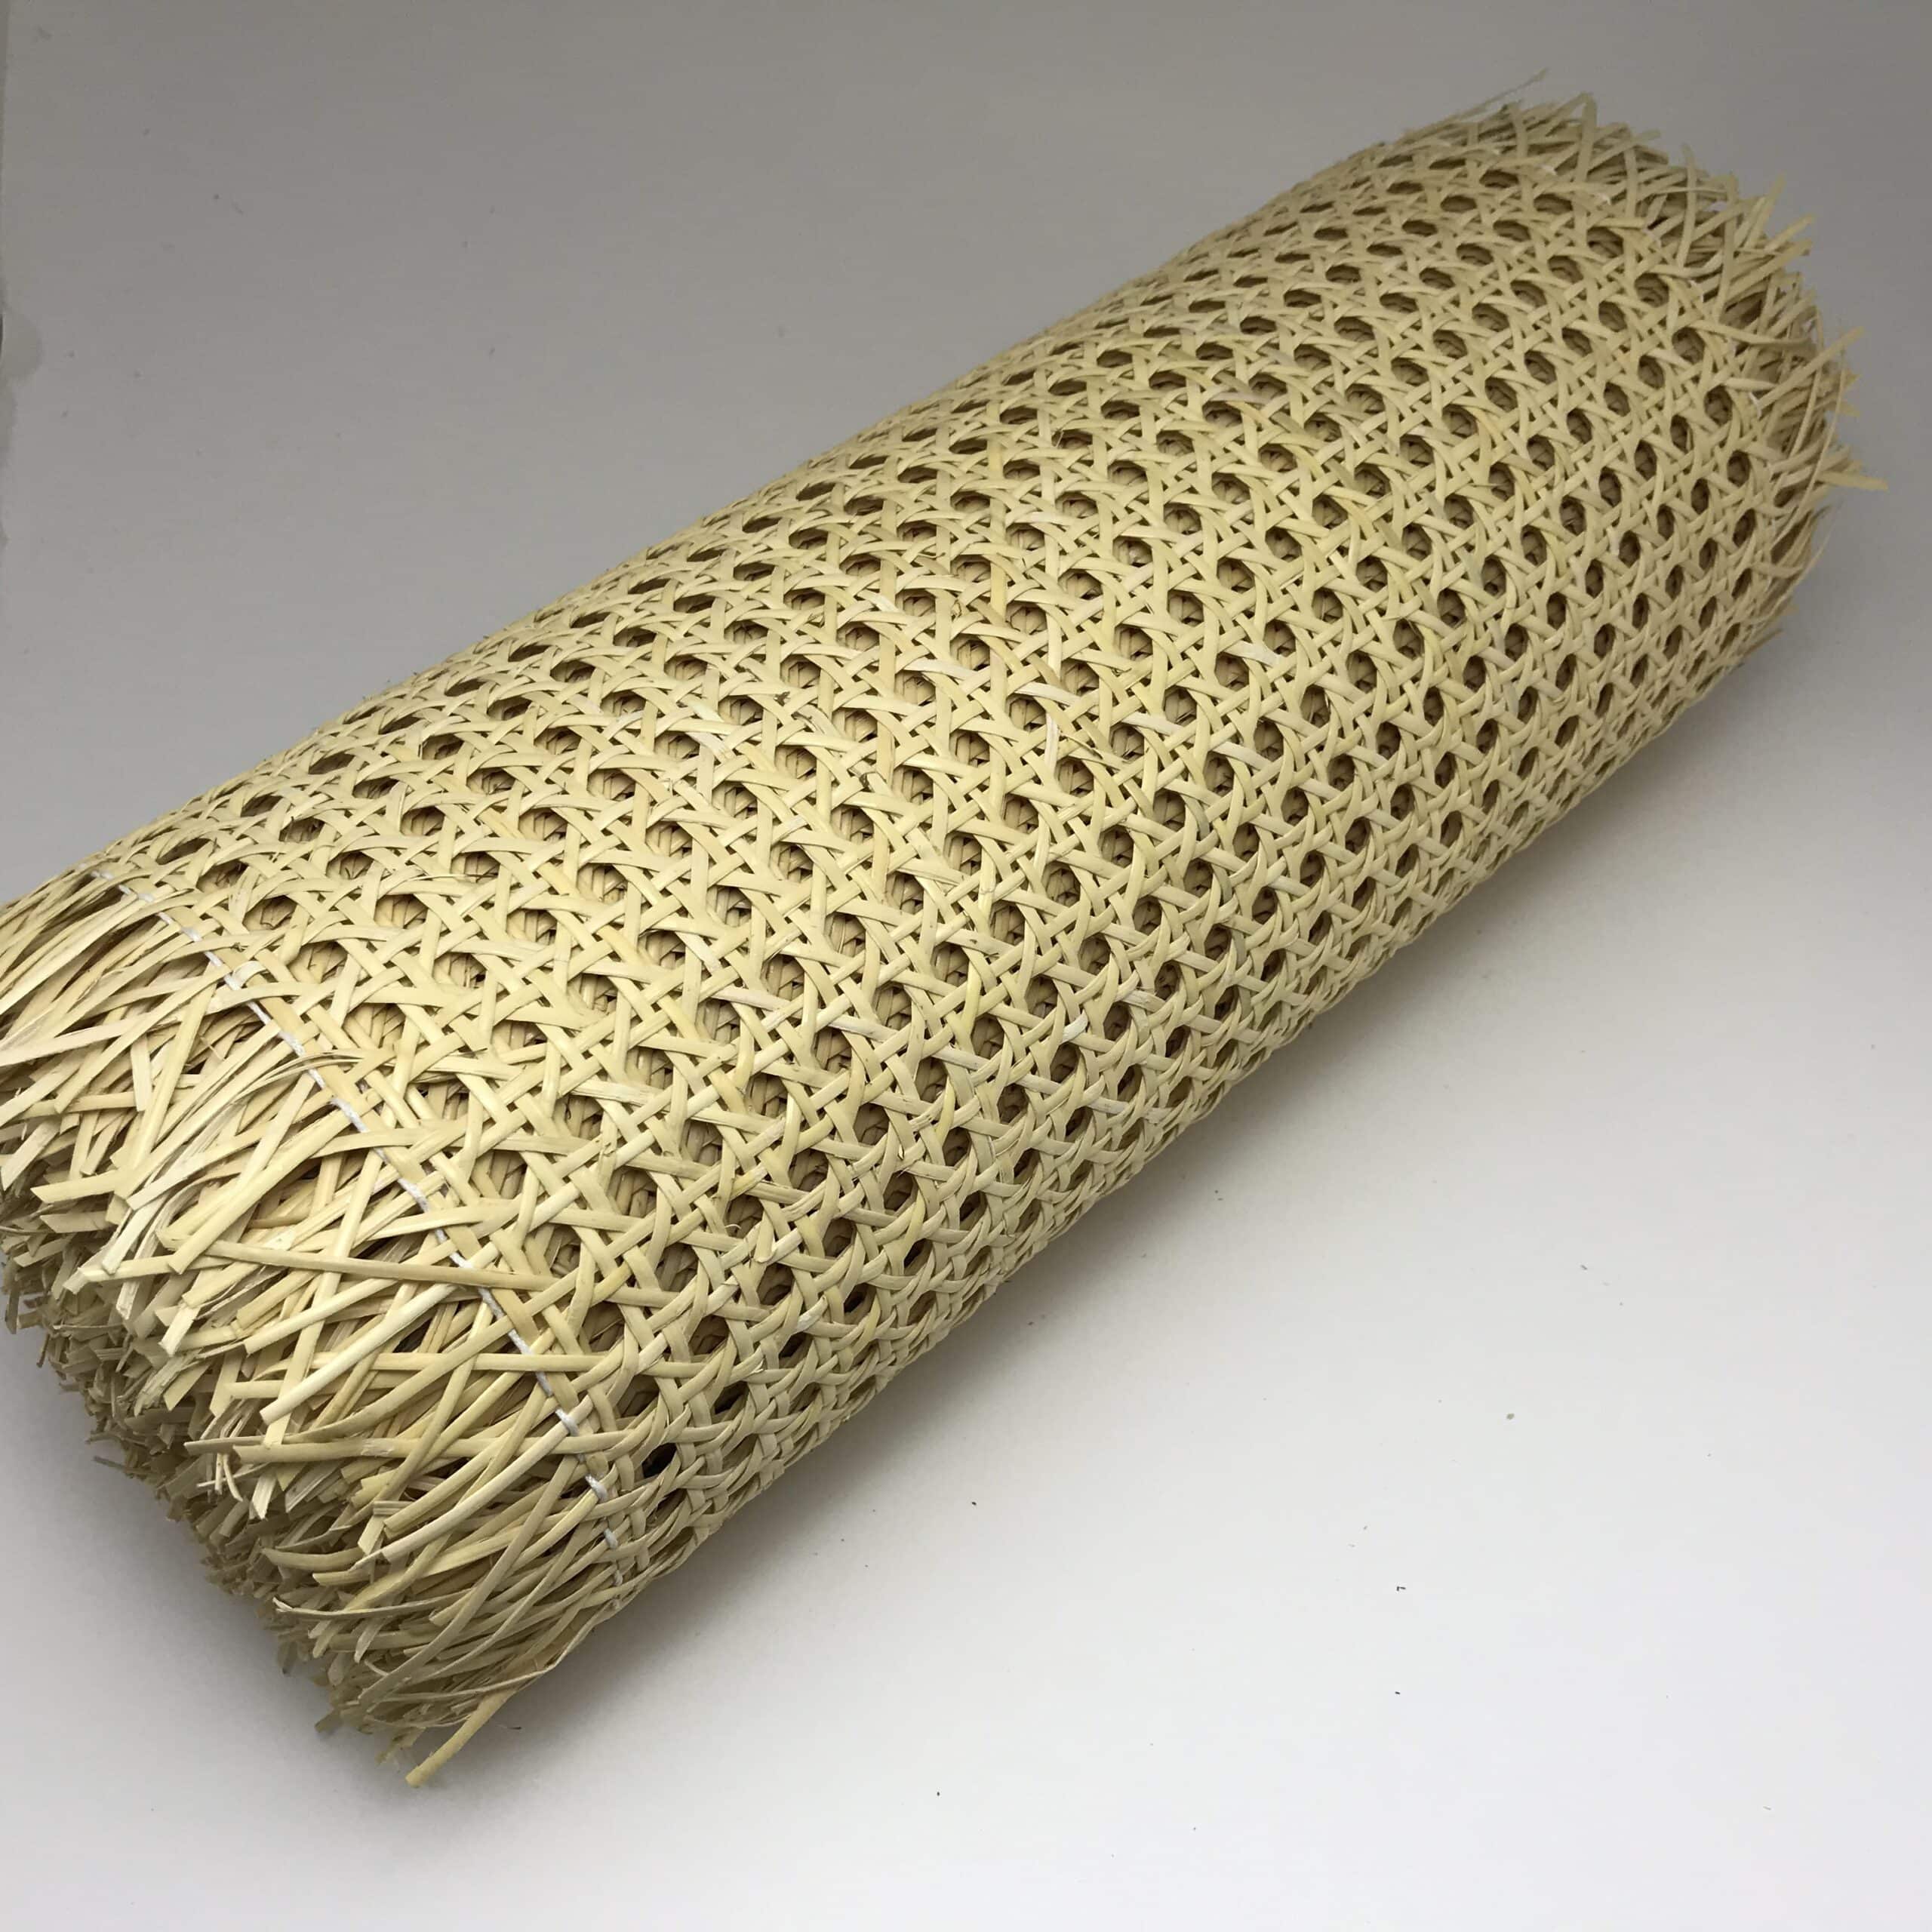
| Cane Width | 12" Wide, 14" Wide, 16" Wide, 18" Wide, 20" Wide, 24" Wide, 30" Wide, 36" Wide, 44" Wide, 48" wide, on special – 18" width, on special 16" width, on special 24" width |
|---|
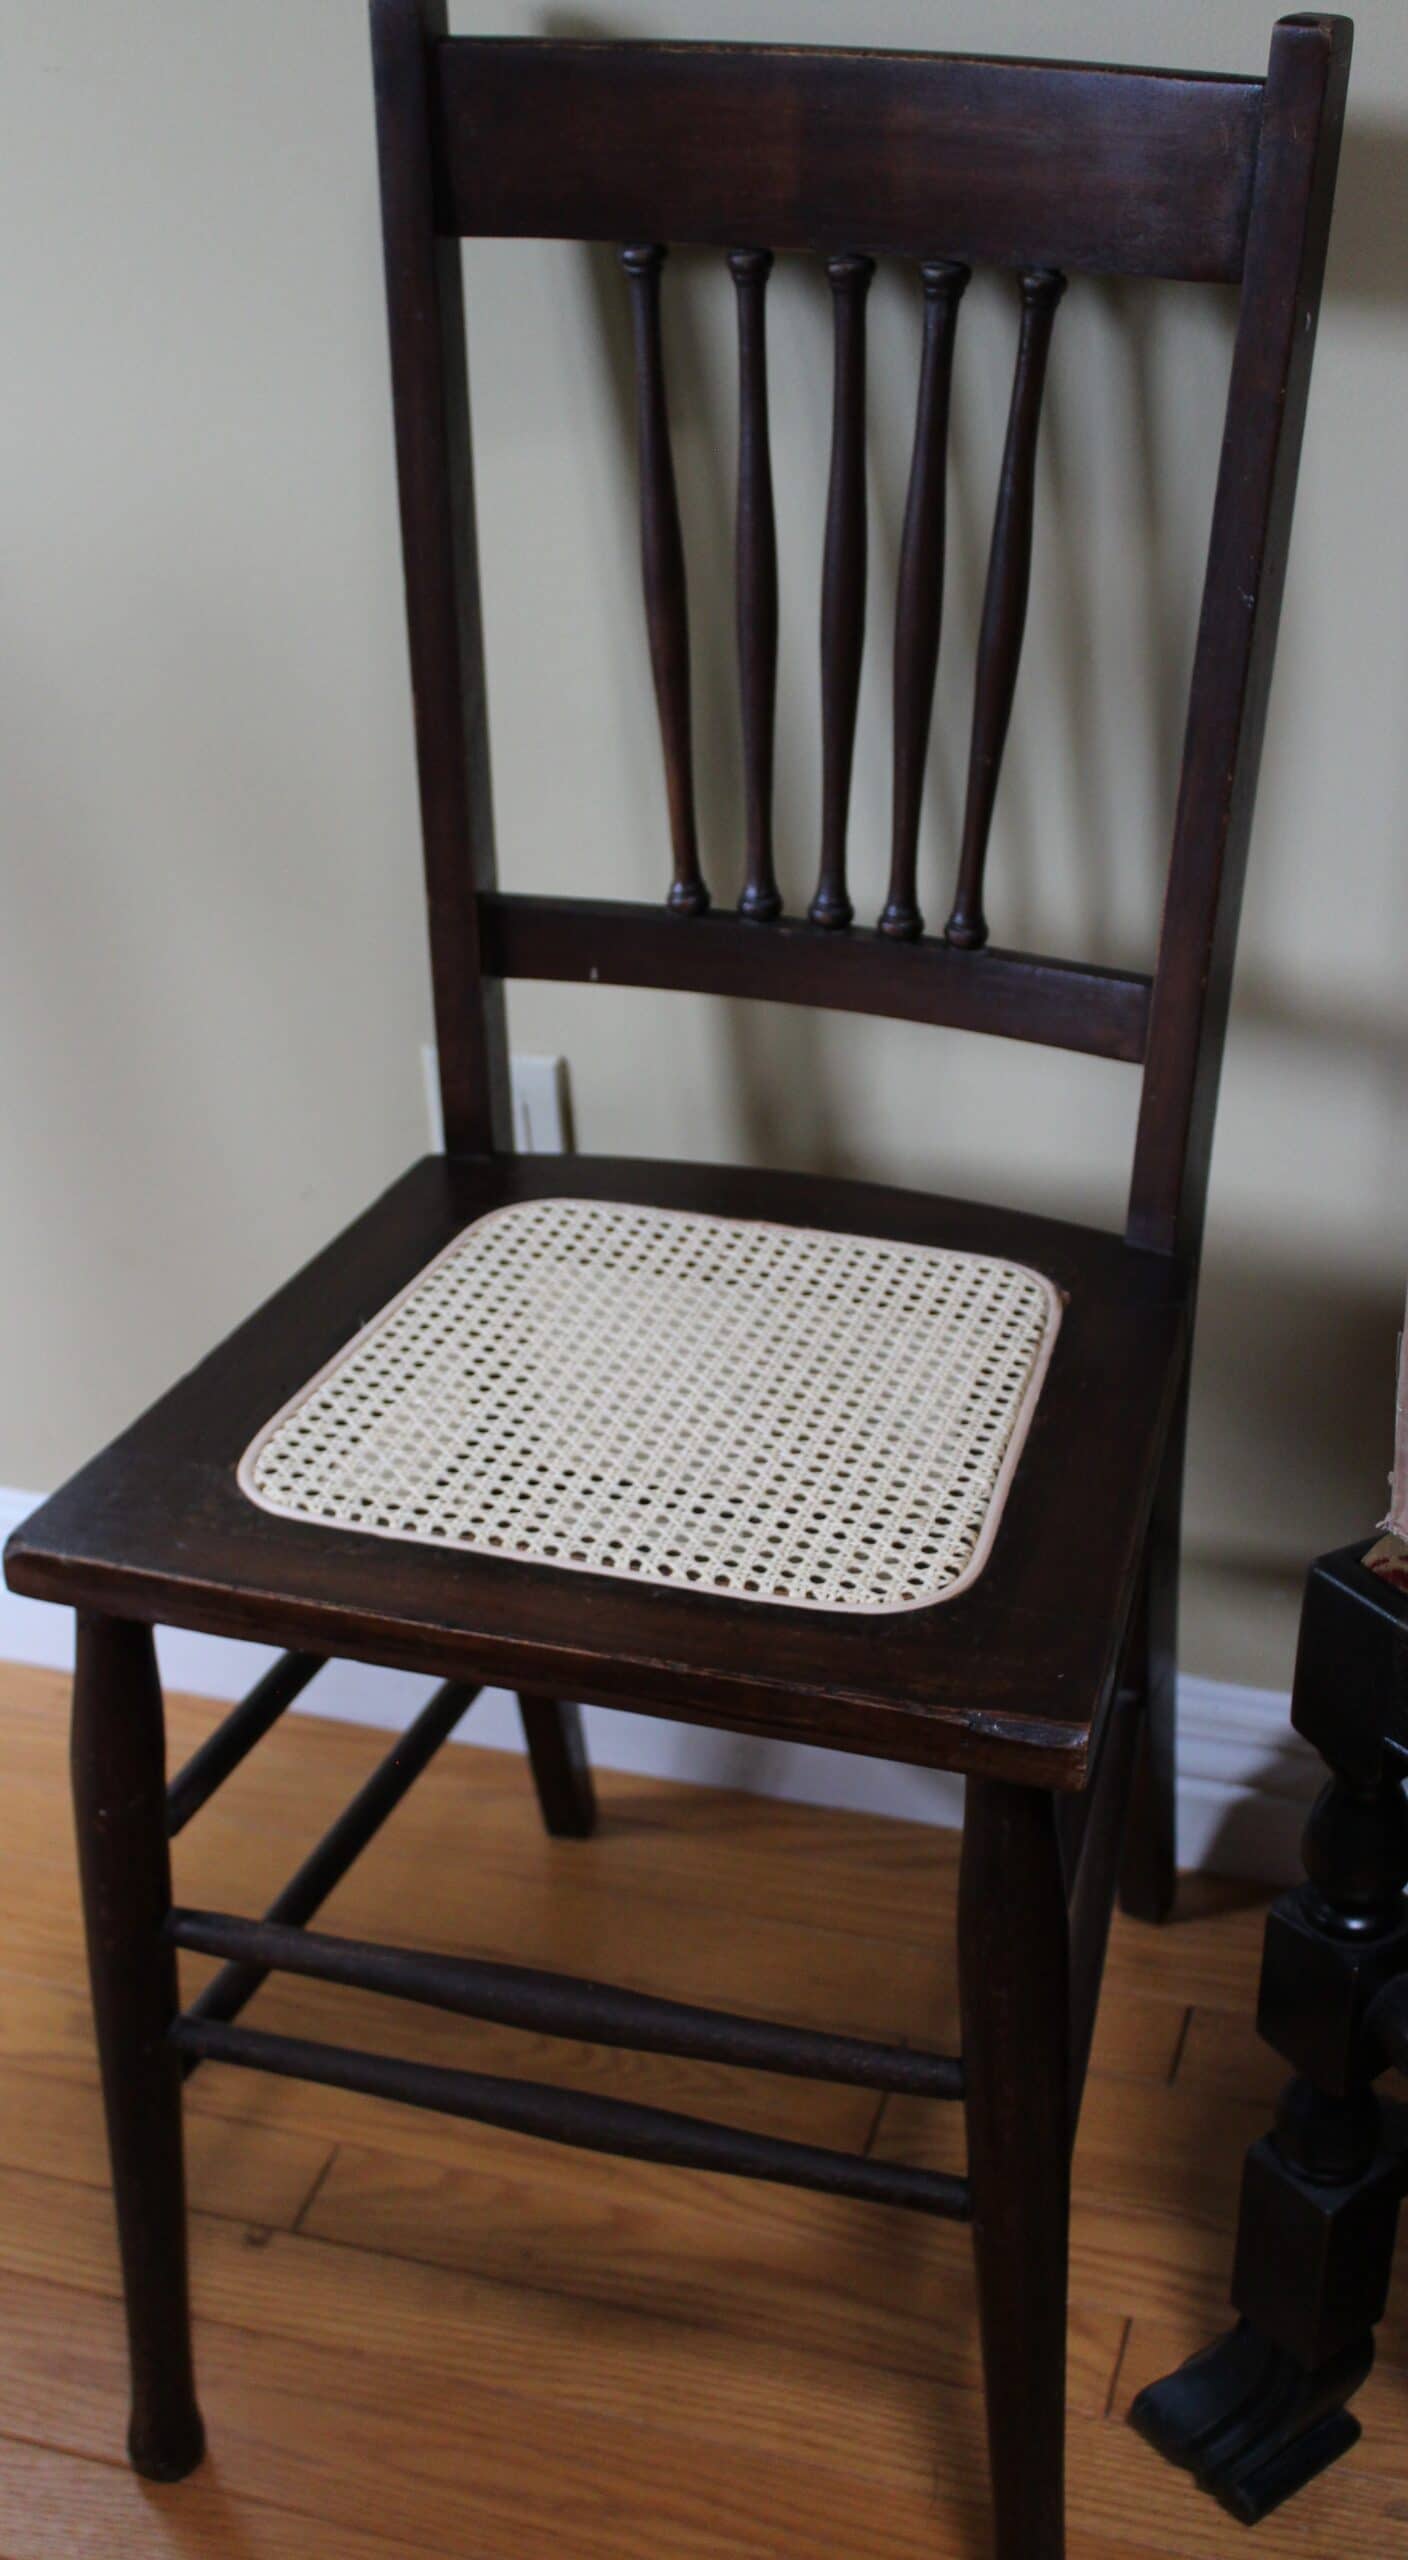
| Tips for inserting into doors | Sheet cane install Basics
1 – The real cane sheet canes are installed wet, you soak in lukewarm water for 15 to 20 minutes, for most installs, for grooved with spline installs, 1.5 hours, (see notes below for paper versions)
2 – Allow an extra inch on each of the 4 sides, do not cut to exact size of opening as the cane will shrink as drying and will pull away
3 – mark a center point top and bottom in project and then find the center strand in the cane top to bottom and align with project centers, do a relax fit with the cane, no need to stretch ( the cane is swelled with water and if stretched, it could dry and tighten too much and snap strands)
4 – lightly tack the cane in place, if using a cut out right angle edge on the back side of a door frame, lightly tack into the right angle sections of the wood is best, allow the cane to come up the edges, doing a right angle with the cane, this gives it better holding and the also the extra length that is need to stay in place and not pull away as it dries. You just need to tack in a few places, enough to get the cane to stay where you need it to, the top moulding will do main holding
5 – the cane will need to be worked a bit in the corners, some strands can be loosened and moved a bit to get a nice corner for the moulding to sit well after, once the cane is in place and ready for moulding, the extra cane can be left and cut after the moulding is secured and the cane is dry and then trim of the extra, or the cane can be trimmed just below the wood surface and then add the moulding and secure.
6 – It is best to apply a bead of wood glue, before applying the precut moulding, but not a must, just gives it the extra holding of everything together. Pin nailing and clamping is ok, when using glue, if no glue than screws are best to apply the moulding, only using pin nails will not hold as well and can come loose as the cane dries.
7- allow to dry flat, you will see a few ripples in the cane, but this will tighten up nicely as it dries.
8 – One test door done first, is ideal, then the process can be followed and confirmed everything goes as it should and then the balance of doors can be done after.
Note: Paper version sheet canes
1 – do not soak the paper versions, these are installed the same as real cane, except use dry and apply tight right away.
2- the paper weaves have to be colored after installed, use very light coats, let dry well before applying additional coats. Heavy coats may cause the cane to sag and may not tighen back up when dry. |
|---|